
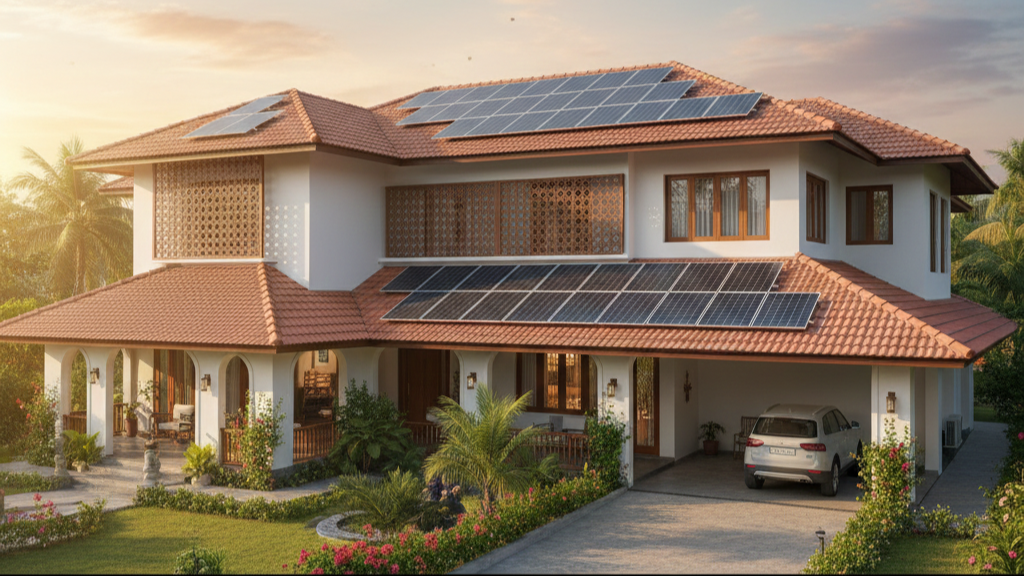

Residential Solar Panel Installation: Guide for Homeowners
Residential solar panel installation in India is becoming an increasingly smart investment as electricity tariffs continue to rise and the state benefits from abundant sunlight year-round. Whether you live in a major metro or a smaller town, switching to solar power can significantly reduce your monthly EB bills while enhancing your property’s long-term value.
In this detailed guide, we’ll explore the best solar panels in Chennai, system types, pricing, and the solar system cost in Tamil Nadu, along with expert tips for choosing the right system for your home.
What Is Residential Solar Panel Installation?
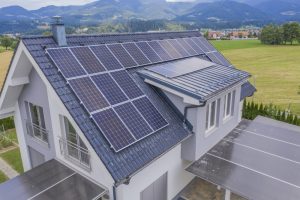
Residential solar panel installation refers to the structured process of designing, placing, and connecting solar photovoltaic (PV) systems on individual homes. These systems convert sunlight into electricity, allowing homeowners to generate clean, renewable power directly from their rooftops or open land areas.
Why Tamil Nadu is Ideal for Residential Solar
Tamil Nadu is one of India’s leading renewable energy states, thanks to:
- High solar radiation levels
- Long sunny days across most seasons
- Growing electricity demand
- Supportive state solar policies
Cities like Chennai, Coimbatore, and Madurai receive strong sunlight, making rooftop solar highly efficient for residential properties.
Benefits of Installing Residential Solar in Tamil Nadu
Installing the best residential solar panel systems in Tamil Nadu offers:
- 60–90% reduction in electricity bills
- Protection from tariff hikes
- 25+ years of energy production
- Increased property value
- Eco-friendly energy solution
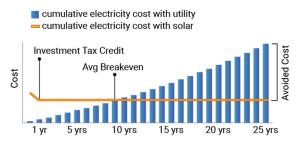
With Tamil Nadu’s high sunlight availability, payback period typically ranges between 3–5 years depending on system size.
How Residential Solar Panel Installation Works
Step 1: Site Assessment
A thorough site assessment is the foundation of a successful residential solar panel installation. During this stage, experts visit your home to evaluate critical factors such as:
- Roof condition – ensuring your roof is strong enough to support the solar mounting structure.
- Sunlight exposure – analysing daily sun hours and tilt angle for maximum solar output.
- Shading issues – identifying obstructions like trees, neighboring buildings, or chimneys.
- Required system size – determining the ideal capacity based on your average electricity consumption.
This careful assessment ensures that your home solar panel installation operates efficiently for decades.
Step 2: System Design
After gathering all technical details, engineers create a customized solar design tailored to your household’s energy needs. The system design typically includes:
- Panel capacity (kW) – selecting the right size to meet your energy goals.
- Inverter choice – choosing between string, micro, or hybrid inverters for optimal performance.
- Battery options – adding solar batteries for storage, backup power, and energy independence.
- Mounting structure type – selecting rooftop, elevated, or ground-mounted systems.
This stage ensures your residential solar panel installation is engineered for reliability, efficiency, and long-term savings.
Step 3: Documentation & Approvals
For most regions, a home solar panel installation requires several official approvals before setup. Depending on your location, this may include:
- Electrical safety approval from local authorities.
- Net-metering application to allow exporting excess energy to the grid.
- Government subsidy forms to help reduce installation costs.
Professional installers guide you through all paperwork, making the process simple and stress-free.
Step 4: Installation
Once approvals are in place, certified technicians begin the physical installation. This includes:
- Mounting solar panels securely on your rooftop or structure.
- Installing inverters and wiring components.
- Setting up safety systems and grounding mechanisms.
- Ensuring proper alignment and tilt for maximum sunlight absorption.
A well-executed residential solar panel installation follows strict international standards, guaranteeing long-term performance.
Step 5: Testing & Commissioning
After installation, the entire system undergoes detailed inspection and testing. Technicians verify:
- Solar panel output
- Inverter performance
- Wiring connections
- Overall system efficiency
Only after all parameters meet safety and performance standards is the system commissioned for use.
Step 6: Net Metering Activation
In the final step, the solar system is connected to the grid under a net-metering agreement. Homeowners start earning credits for the excess electricity generated by their home solar panel installation, further reducing monthly electricity bills. This ensures maximum financial benefits from your solar investment.
How Much Does Residential Solar Panel Installation Cost?
Costs vary widely based on:
- System size (typically 1 kW–10 kW for homes)
- Panel type (monocrystalline, polycrystalline, bifacial)
- Battery storage
- Roof structure
On average, homeowners can expect:
- 1 kW System → Ideal for small homes
- 3–5 kW System → Suitable for average households
- 8–10 kW System → Best for large consumption homes
Prices also depend on government incentives available in your region.
Types of Solar Systems for Homes
- On-Grid Solar System
Connected to the utility grid, best for areas with stable electricity supply.
Benefits: Net metering, lower installation cost.
- Off-Grid Solar System
Works independently with batteries; suitable for remote areas.
Benefits: Complete energy independence.
- Hybrid Solar System
Combines on-grid connectivity with battery backup.
Benefits: Power even during outages + net metering.
Maintenance Tips for Residential Solar Panels
To keep your system performing at its best:
- Clean panels every 2–3 months
- Monitor inverter readings regularly
- Trim surrounding trees to avoid shading
- Schedule annual professional maintenance
Solar panels generally last 25+ years with minimal upkeep.
Best Solar Panels in Chennai – What to Look For
If you are searching for the best solar panels in Chennai, keep these factors in mind:
- MNRE-approved panels
- 25-year performance warranty
- Tier-1 manufacturers
- Strong local installation support
- Net metering eligibility
Chennai homes often benefit from 2kW to 5kW systems depending on EB consumption.
Why Residential Solar Panel Installation Is Worth It
Switching to solar energy is not only a smart financial decision but also a long-term investment into a sustainable future. With rising energy prices and increased demand for clean energy solutions, solar installation remains one of the best upgrades a homeowner can make.
Ready to Go Solar? Choose 4E Renewables
Take your first step toward clean, affordable, and reliable energy with a team you can trust. 4E Renewables delivers professional residential solar panel installation backed by high-quality components and comprehensive support throughout every stage of your solar journey.
With 4E Renewables, you benefit from:
✔ Expert site assessment and precise system design
✔ Premium-grade solar panels and durable mounting structures
✔ Skilled installation by certified technicians
✔ Transparent pricing and end-to-end guidance
✔ Assistance with government-backed subsidies and net-metering
Start Your Solar Journey Today
Request a free site assessment. Get a customized solar quote. Save more with government incentives and subsidies. Choose smarter energy. Choose 4E Renewables. Empower your home with clean energy—built for today and ready for the future.
